Database Project User Manual
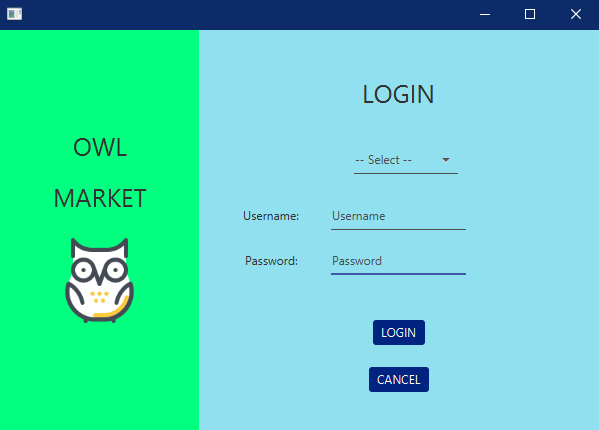
When the program is first launched, they will be greeted with a login page where they need to input a proper username and password to be able to continue, but before that, they also need to choose their roles as either manager or cashier.

If a manager logs in, they will be greeted with this view with various buttons that lead to another database so this is the dashboard where a manager can organize databases.

For example, if the inventory button is clicked, they will be greeted with this dashboard where they can insert, update, and delete data on the inventory table shown. There will also be error handling to check whether the field is empty or the record already exists in the table. This dashboard is the same as the others like suppliers, memberships, etc.
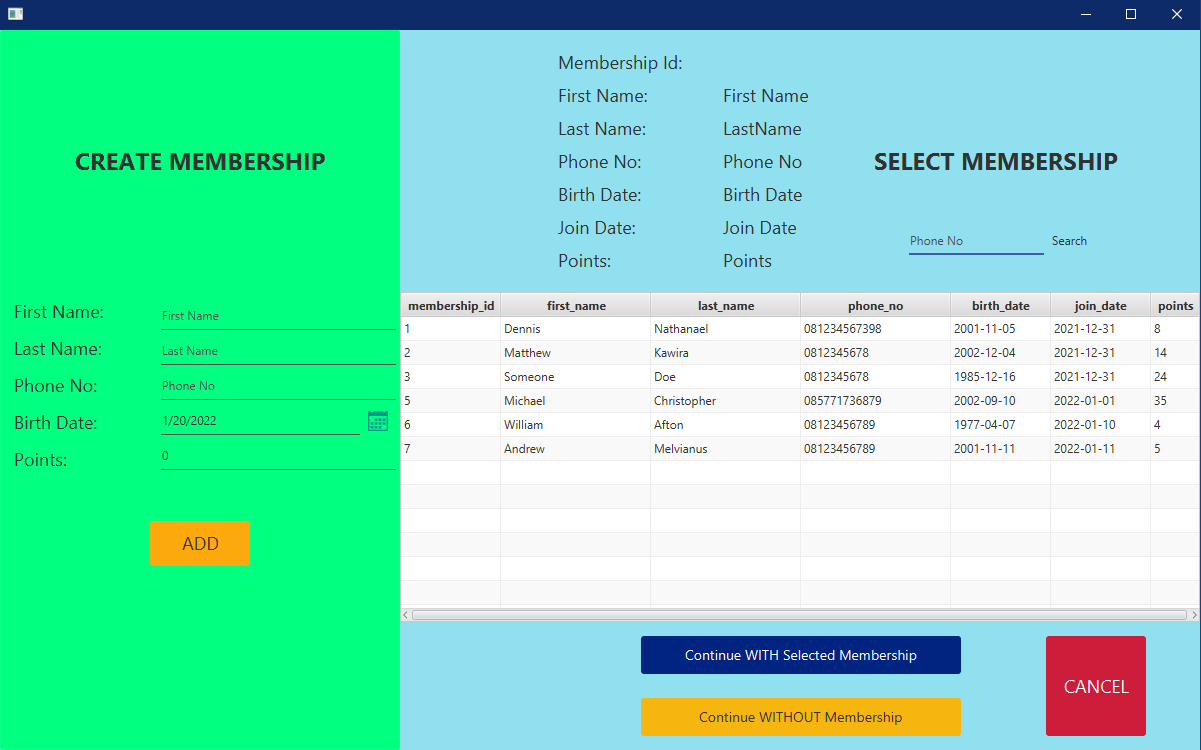
On the other hand, if a cashier logs in, they will move on to this ask membership dashboard where they can add new membership, continue with selected membership or continue without membership.
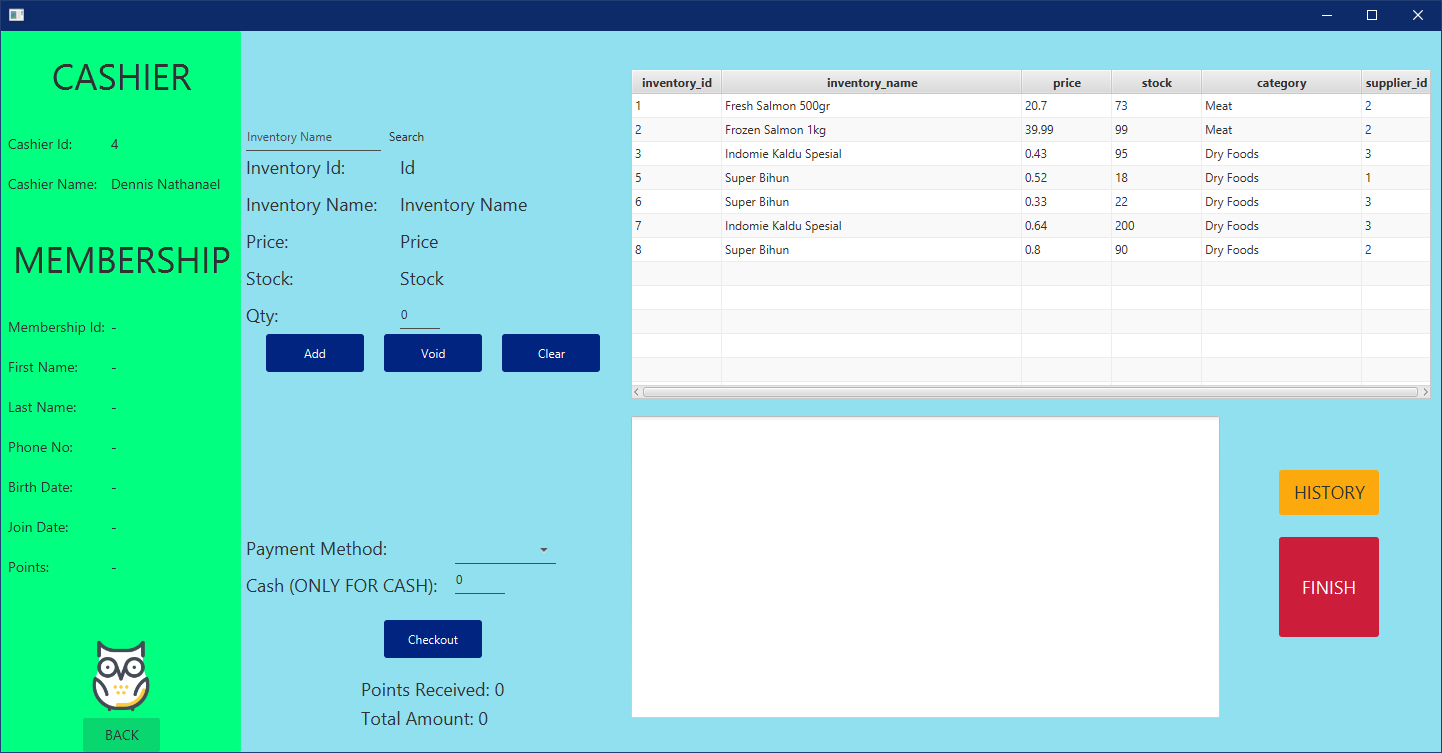
This is the transaction dashboard where the cashier can handle the customer’s transaction. Here, the cashier will be able to add, void, or clear order items into the receipt. If everything is ready, they can ask the customer for the payment method to check out and finally press the finish button to commit all of the queries. When the cashier updates the receipt, an invoice is created in the invoice table and each item is recorded in the orders table referring to the newly-created invoice. If the customer decides to cancel the transaction, the cashier can press the clear button or back to roll back all of the queries which will reset the quantity in the inventory table and cancel the creation of the invoice and all of the orders. The history button is to show the history of invoices and orders that have been committed.